Straightforward Ways to Repair a Leaky Waste Disposal Unit
Straightforward Ways to Repair a Leaky Waste Disposal Unit
Blog Article
Every person seems to have their own unique perception about How to fix a pretty consistent leak from my garbage disposal.

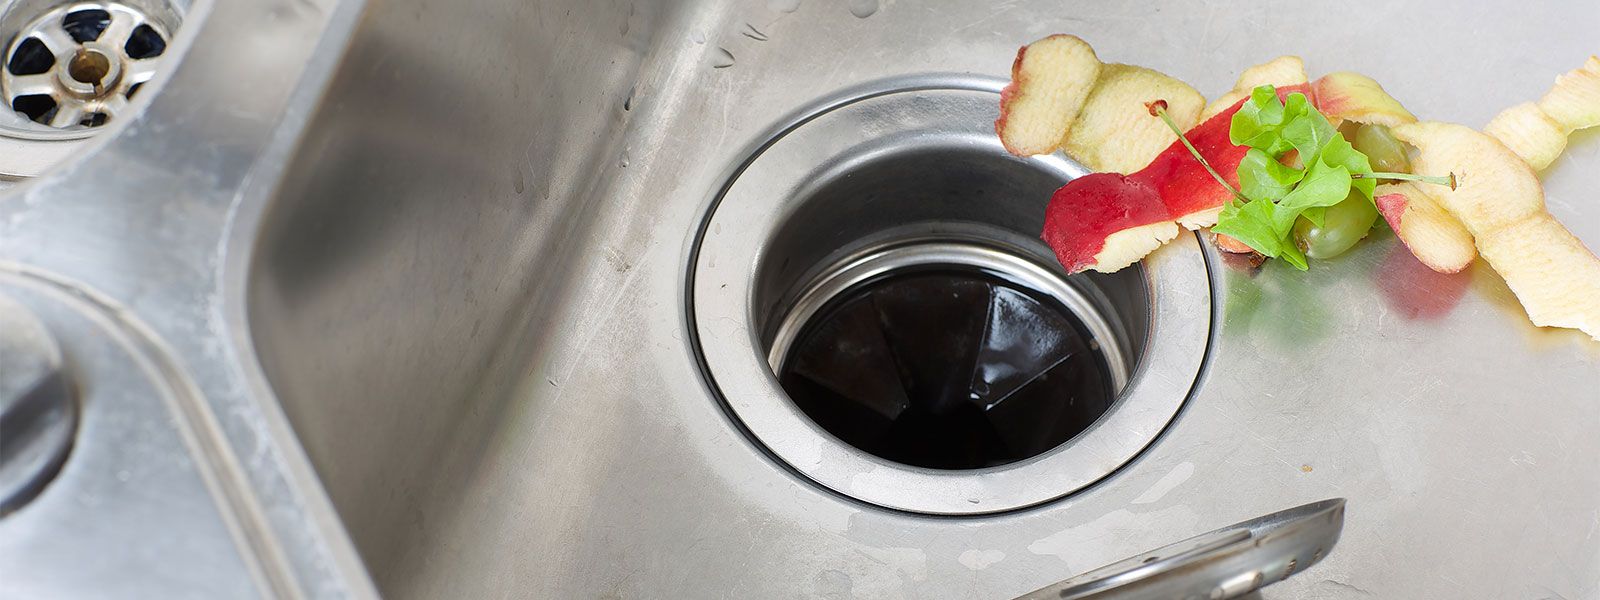
Garbage disposals are essential kitchen appliances that help in disposing of food waste successfully. Nonetheless, a leaking waste disposal unit can be an irritating and untidy problem to take care of. Thankfully, several leaks can be fixed conveniently with a couple of straightforward steps. In this article, we will discuss how to deal with a leaking waste disposal unit effectively.
Introduction
Waste disposal unit are installed under kitchen sinks and are created to shred food waste right into smaller sized items, permitting it to travel through the pipes system conveniently. While these tools are usually reliable, leakages can take place gradually because of deterioration, loose links, or damages to the unit.
Common Sources Of Leakages in Trash Disposals
Worn Seals and Gaskets
Seals and gaskets play an essential duty in stopping water from leaking out of the waste disposal unit. In time, these parts can weaken, bring about leaks around the disposal device.
Loose Connections
The connections between the garbage disposal and the pipes system can come to be loosened in time, causing water to leak out during procedure.
Fractures or Openings in the Disposal Device
Physical damages to the garbage disposal, such as fractures or openings in the real estate, can likewise result in leaks.
Determining the Source of the Leak
Before attempting to fix a dripping garbage disposal, it is vital to determine the resource of the leakage. This can normally be done through visual assessment or by conducting easy examinations.
Visual Examination
Inspect the garbage disposal unit very carefully for any kind of indicators of water leak. Pay attention to locations around seals, gaskets, and link factors.
Checking for Leakages
One method to evaluate for leaks is by running water through the disposal unit and looking for any kind of visible signs of leak.
Devices and Materials Needed for Repairing a Dripping Waste Disposal Unit
Before starting the fixing process, collect the needed tools and products, including a screwdriver, flexible wrench, plumbing technician's putty, replacement seals or gaskets, and epoxy or patching product for fixing fractures or openings.
Step-by-Step Guide to Dealing With a Leaking Garbage Disposal
Switch off the Power
Prior to trying any kind of repairs, ensure that the power to the waste disposal unit unit is turned off to prevent the threat of electric shock.
Locate the Leak
Recognize the exact area of the leak and figure out the reason.
Tighten up Links
Make use of a wrench to tighten up any kind of loosened links between the disposal system and the plumbing system.
Replace Seals or Gaskets
If the leakage results from used seals or gaskets, eliminate the old components and replace them with brand-new ones.
Patching Fractures or Holes
For splits or openings in the disposal unit, usage epoxy or an appropriate patching material to secure the damaged location.
Checking the Garbage Disposal After Repair
When the repair is full, evaluate the garbage disposal by running water via it to guarantee that the leakage has been solved.
Preventive Maintenance Tips to Prevent Future Leakages
To prevent future leaks, it is vital to perform routine upkeep on your waste disposal unit. This consists of keeping it clean, preventing putting non-food products or tough things down the disposal, and occasionally looking for leaks or various other issues.
Conclusion
In conclusion, repairing a leaking garbage disposal is a fairly straightforward procedure that can be completed with standard devices and products. By following the steps described in this post and practicing preventive upkeep, you can keep your waste disposal unit in good working problem and avoid pricey fixings in the future.
What to Do About a Leaking Garbage Disposal
A leaking garbage disposal often goes unnoticed until you confront a sopping cabinet, a foul-smelling puddle, or an audible drip-drip-drip from the unit. The fix can be frustrating, too, because the leak can stem from a number of components in the system. Fortunately, with a little sleuthing, you can zero in on the leak and—depending on the exact location—stop the icky oozing and repair the component that caused it. Worst case scenario, if it turns out that the garbage disposal must be replaced, installing a new one is a reasonable do-it-yourself task for those with basic plumbing skills. Read on to keep the cash you’d otherwise hand over to a pro.
Prepare to find the leak
Prior to testing the garbage disposal for leaks, unplug it at the wall outlet and turn off the power from the breaker box to prevent electrical shock. Then insert a watertight sink stopper into your sink drain and wipe the unit dry with a clean cloth. In any handy container, mix a few drops of food coloring into a few cups of water, and pour the dyed water onto the sink stopper to help you locate the leak.
Investigate the source
the top, where the disposal meets the sink drain the side, where the dishwasher hose or main drain pipe connects to the disposal or the bottom of the unit Inspect each of these locations while gliding a light-colored rag over the unit; the dyed water will readily show on the rag and reveal the location of the leak. If a leak isn’t immediately apparent, remove the sink stopper and pour a few more cups of dyed water down the sink drain, then check for leaks again. Leaks near the top of the unit are more likely to show themselves while the sink is plugged, while side and bottom leaks are more noticeable while the sink is unplugged.
The metal sink flange that sits directly inside the sink drain is typically sealed around the top with plumber’s putty (a clay-like sealant) and then secured from under the sink with bolts. If the plumber’s putty deteriorates, or the bolts loosen, the flange can no longer form a watertight seal between the sink drain and the disposal—which could cause a leak at the top of the unit.
To reseal the leaky flange, you must first detach the garbage disposal. Start by loosening the screws securing the main drain pipe to the disposal, then loosen the screws in the metal clamp securing the dishwasher hose to the disposal and detach the drain pipe and dishwasher hose from the disposal. Loosen the screws in the mounting ring that connects the disposal to the metal mounting assembly beneath the sink, then pull down the disposal and carefully set it on a clean, dry surface. Loosen the bolts in the mounting assembly with a wrench, then pull down the mounting assembly and set it near the disposal.
I found that content about The Handy Guide To Fixing Your Garbage Disposal Leaking when doing a search on the web. Be sure to take the opportunity to distribute this blog if you enjoyed it. Thank-you for your time invested reading it.
Give Me A Quote! Report this page